Embedding a Google Map on your website is one of the quickest, most effective ways to show customers exactly where you are. It’s a simple copy-and-paste job: you grab a snippet of HTML code from Google Maps and drop it into your site's backend. Instantly, you have an interactive map on your contact or location page.
Why a Google Map Is Crucial for Your Local Business

Adding a map to your website goes way beyond just being a helpful feature; it’s a smart business move. For any local business, an embedded map sends a direct signal to search engines, validating your physical location and the area you serve. This one small addition can give your local SEO efforts a serious boost.
Think about it. When someone searches for "holistic health clinic near me," Google is actively looking for strong geographic signals to provide the best possible results. An embedded map on your contact page is undeniable proof of your location, helping you climb the rankings for those all-important "near me" searches. It visually confirms your business details, which builds trust with both your visitors and the search algorithms.
Enhancing User Experience and Building Trust
Put yourself in your customer's shoes. A potential client lands on your website, intrigued by what you offer. If they have to leave your site to look up your address, get directions, or check your hours, you’ve just created unnecessary friction. Every extra click increases the risk they’ll get sidetracked and never come back.
An interactive map solves this problem on the spot. It keeps all the crucial information a visitor needs right there on your page:
- One-Click Directions: Users can get turn-by-turn navigation without ever leaving your website.
- Key Business Details: The map can display your address, phone number, and opening hours at a glance.
- Instant Social Proof: It often pulls in your Google reviews and star rating, offering immediate credibility.
According to Sterling Sky, a well-known local SEO firm based here in BC, businesses that use a google map embed in website often see an immediate jump in engagement. Their research shows that this simple widget helps lower bounce rates by keeping everything in one place, so users don’t have to switch to another app. In fact, their internal tests on Canadian websites revealed that pages with embedded maps kept visitors engaged for 30-45% longer—a metric that directly ties into higher conversion rates for local service bookings.
By making the journey from online discovery to an in-person visit as smooth as possible, an embedded map becomes an essential conversion tool. It answers the simple question "Where are you?" with a visual that's interactive, trustworthy, and incredibly helpful.
Connecting Your Digital and Physical Presence
Ultimately, an embedded map is the bridge between your online presence and your physical location. It reinforces the information you have listed in your Google Business Profile, creating a consistent and authoritative signal that search engines love.
This kind of consistency is a cornerstone of good local SEO and is vital for building a solid digital foundation. For more information, check out our guide on the importance of Google My Business for local visibility.
The Simple Iframe Method for Quick Embedding
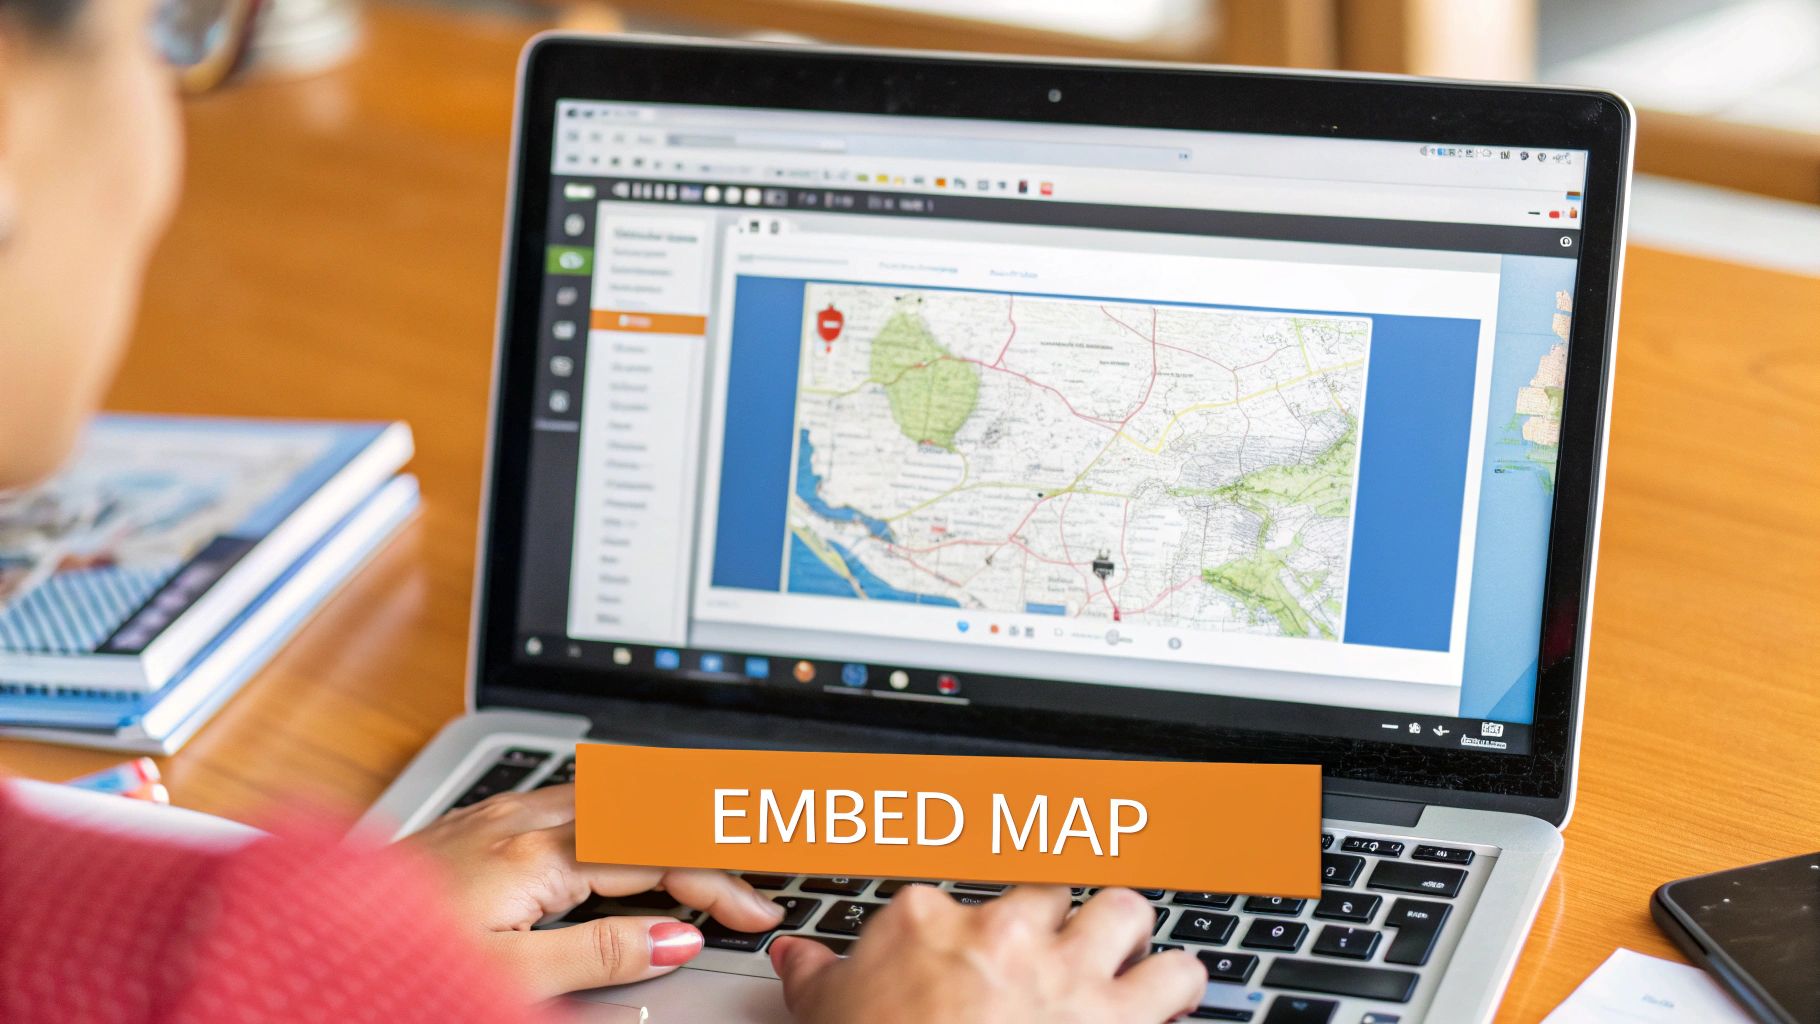
If you just need a map on your site—and fast—the simple iframe embed is your best bet. It's the quickest, no-fuss way to get a fully interactive google map embed in website pages, perfect for your "Contact Us" or "Our Location" page.
Best of all? It's completely free, and you don't need to mess with API keys or write a single line of original code. It’s a straightforward copy-and-paste job that just about anyone can handle.
Generating Your Map Embed Code
Getting the code from Google is a breeze. You don't even need to be logged into a Google account.
- First, head over to Google Maps and pop your exact business name and address into the search bar.
- Once your business listing appears on the map, look for the “Share” button and give it a click.
- A little window will pop up. You’ll see two tabs: “Send a link” and “Embed a map.” You’ll want to click on “Embed a map.”
- You’ll see a preview of your map and a snippet of HTML code that starts with
<iframe.... Just hit the “COPY HTML” button.
And that's it. You've now got the code for an interactive map that shows your location, business name, and even your star rating from Google reviews.
My personal tip is to always zoom in and double-check the location pin before you copy the code. If you’re in a large building or a busy downtown centre, make sure that pin is exactly where you want people to go. You don't want to send customers to the back alley instead of your front door!
Placing the Map on Your Website
With the iframe code copied, the next step is to paste it into your website. The exact steps will depend on your platform (like WordPress, Shopify, or Squarespace), but the basic idea is always the same: find a place where you can add raw HTML.
Most modern website builders make this incredibly easy. If you're using WordPress, for instance, you'd add a "Custom HTML" block to your page and just paste the code right in. For Shopify store owners, adding a "Custom Liquid" or HTML section in the theme editor does the trick.
Once you hit save or publish, your interactive map will appear right on the page.
Choosing the Right Map Size
The default size Google gives you might not be the perfect fit for your page design. Luckily, adjusting it is simple.
- Pre-set Sizes: Right in the "Embed a map" window, Google gives you a dropdown with small, medium, and large options.
- Custom Dimensions: For total control, you can edit the
width=" "andheight=" "values directly inside the iframe code before you paste it.
A really common and effective trick is to set the width to 100%. This tells the map to automatically stretch to fill whatever container it's in, which is fantastic for making it responsive. That one little change ensures your google map embed in website looks great on a giant desktop monitor and a tiny phone screen.
Taking Your Map to the Next Level with the Maps JavaScript API
The simple iframe embed is a fantastic, no-fuss solution for getting a map on your site quickly. It gets the job done. But what if "good enough" isn't quite right for your brand?
Sometimes, you need more than just a pin on a map. You need a map that’s an integral part of your user experience—one that matches your brand’s look and feel, and offers custom features. This is where you roll up your sleeves and dive into the Google Maps JavaScript API.
The API is your toolkit for building a completely custom map. It hands you the controls, letting you dictate nearly every aspect of its appearance and behaviour. For a business with multiple locations, like a chain of local cafes across Vancouver, the API isn't just a nice-to-have; it's a game-changer.
Think about it. Instead of forcing customers to navigate between several different embedded maps, you can present them with a single, elegant map showing all your locations at once. Each spot could be marked with your company’s logo. That’s the kind of professional touch the API makes possible.
Why Go Through the Extra Trouble?
Deciding between a simple embed and the API really comes down to two things: control and branding. The iframe is fast, but the API opens up a world of possibilities you just can't get otherwise.
- Custom Map Styles: You can completely transform the map's visual identity. Want a sleek, monochrome look to match your minimalist site? Or maybe you want the map’s colours to reflect your brand’s official palette? The API lets you do it.
- Unique Map Markers: Say goodbye to that generic red pin. You can replace it with your company logo, a custom-designed icon, or any image you want.
- Multiple Locations on One Map: This is a huge win for any business with more than one physical spot—think real estate agencies showcasing listings, or restaurant chains.
- Interactive Overlays and Info: You can add custom pop-up windows with details about each location, draw shapes to outline your service areas, or even create heatmaps to visualize data.
When you use the API to embed a Google Map in your website, you’re turning a basic utility into a polished, branded, and interactive feature. It signals a level of care and attention to detail that customers absolutely notice.
First Things First: Getting Your API Key
Before you can start building, you need an API key. This is basically a password that gives your website permission to talk to Google's mapping services. You'll get this from the Google Cloud Platform.
The Google Cloud dashboard can look a little intimidating at first, but it’s your command centre for managing all your APIs, keeping an eye on usage, and handling billing.
The process is pretty straightforward. You'll create a new "project," tell Google which APIs you want to use (like the Maps JavaScript API and maybe the Geocoding API), and link a billing account.
Now, don't let the words "billing account" send you running. Google gives you a generous free monthly credit—currently about $200 USD—which is more than enough for most small and medium-sized businesses. Honestly, the vast majority of websites will never pay a dime.
Don't Skip This: Securing Your API Key
Once that key is generated, your most important next step is to lock it down. An unsecured API key is like leaving the keys in your delivery van; anyone could grab it and take it for a joyride, leaving you with the bill.
To prevent this, you absolutely must set up API restrictions. This tells Google that only your website is allowed to use your key.
It’s easy to do:
- Head to your credentials page in the Google Cloud Console.
- Click on the API key you just created.
- Look for "Application restrictions" and select "HTTP referrers (web sites)."
- Add your website's domain, making sure to use the right format (e.g.,
*.yourwebsite.ca/*) to cover all pages.
This one simple step protects you from unauthorized use and nasty billing surprises.
Dynamic maps have come a long way. Back in March 2014, Google's Maps Embed API really changed how Canadian businesses integrated location services. Today, data from BuiltWith shows that around 79,771 live Canadian sites are using it, with a notable concentration in BC's tech-forward e-commerce scene. You can dig into more Google Maps Embed usage trends on Builtwith.com.
Optimizing Your Map for Performance and Accessibility
An interactive map on your website is a great feature, but it can’t come at the cost of performance. A slow, clunky map will send visitors bouncing and can even hurt your search rankings. We need to make sure your Google map embed in website is snappy and accessible to everyone.
The single biggest performance hog is often the map itself loading right away, even if it's way down at the bottom of the page. This adds a ton of weight to your initial page load time, which is bad news for your Core Web Vitals. The fix for this is a clever trick called lazy loading.
Put simply, lazy loading tells the browser to hold off on loading the map until a visitor actually scrolls down to it. This means the map has zero impact on how fast your page initially loads. It's a game-changer for performance.
When you're working with the API, this kind of optimization is crucial. The whole process—getting your key, enabling the right services, and locking it down—is just the starting point.
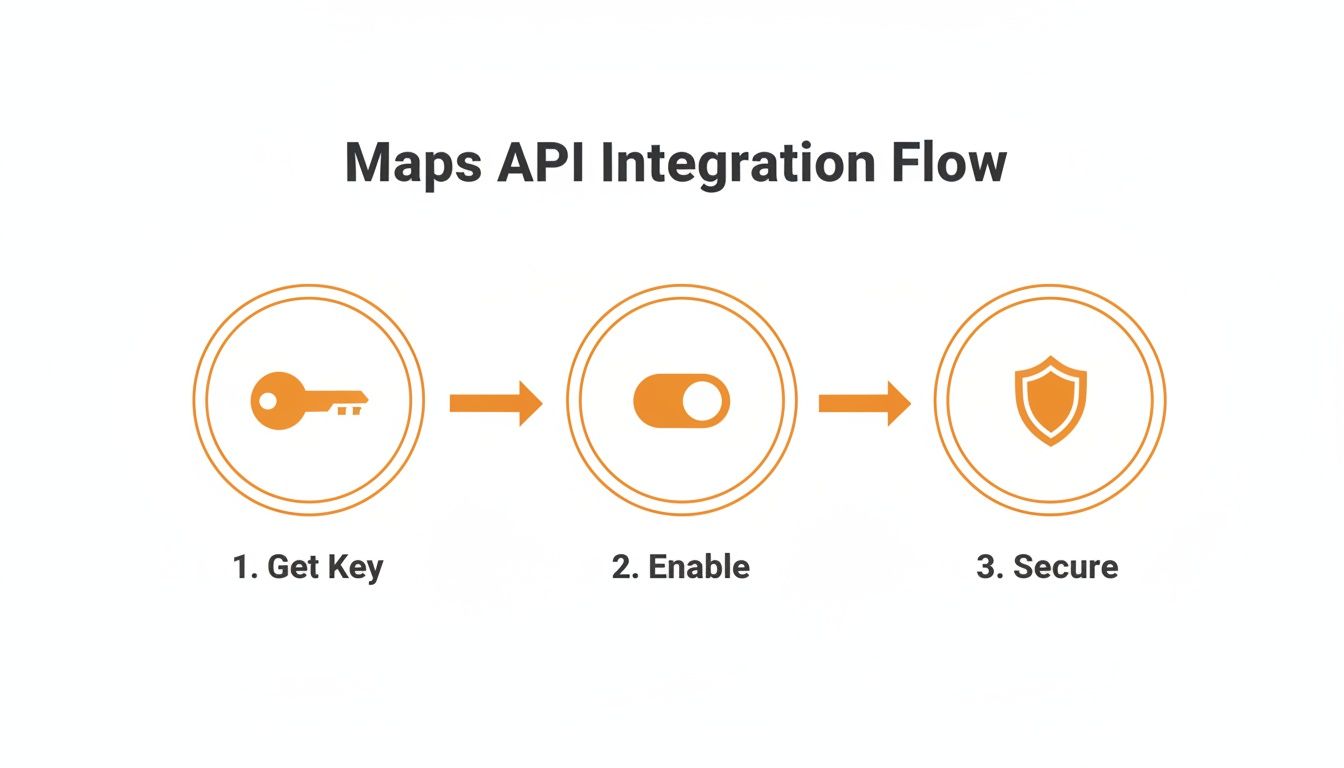
As you can see, the technical setup is step one. Step two is making sure that implementation is as efficient as possible.
Making Your Map Accessible to Everyone
Speed is one thing, but accessibility is just as critical. You need to ensure that all your visitors can use the map, including those who use screen readers or navigate with a keyboard instead of a mouse.
A few small adjustments here can make a massive difference. First and foremost, check that the map works without a mouse. Someone should be able to pan, zoom, and click on markers using only their keyboard.
It's also vital to give screen readers some context. For a simple iframe embed, this is incredibly easy to do.
Just add a
titleattribute right inside your iframe tag. Something liketitle="Interactive map showing our Vancouver office location"gives a clear, descriptive label that screen readers will announce. This one tiny addition makes your map a hundred times more useful to visually impaired users.
Practical Steps for Better Accessibility
Getting accessibility right doesn't need to be a massive project. Here are a few straightforward things you can do right now:
- Add a descriptive title: Like we just covered, use the
titleattribute on your iframe to explain what the map shows. - Check keyboard focus: Try it yourself. Can you tab over to the map and use your arrow keys and the plus/minus keys to move around and zoom?
- Include a text alternative: This is a must. Always list your full address and contact details in plain text right next to or below the map. It’s a simple fallback that helps everyone.
Taking these steps ensures your map is a helpful tool for every visitor, not an obstacle. If you're looking to squeeze even more performance out of your entire site, check out our guide on optimizing website speed. By balancing a fast load time with true accessibility, your map becomes a powerful and inclusive feature.
How to Troubleshoot Common Google Map Embed Issues
Even a simple google map embed in website can be a bit fussy sometimes. If your map isn't showing up or looks broken, don't worry—a little detective work usually gets it sorted out quickly. We'll go over the usual suspects, from tiny code slip-ups to the more tricky API-related headaches.
When you're using a basic iframe, the problem is often a simple copy-and-paste error. A single missing bracket (>) or a wonky quotation mark in that HTML snippet is enough to make the whole thing disappear. My advice? Copy the code from Google Maps again, but this time, paste it into a plain text editor first. This cleans up any weird formatting that might have snuck in.
Another classic culprit is a conflict with your website's theme or one of its plugins. Some themes have aggressive security settings that can strip out iframe code without telling you. To check, try switching to a default theme for a moment or deactivating your plugins one by one. If the map suddenly pops back up, you've found your problem.
Diagnosing API Key Problems
If you've levelled up to the Maps JavaScript API, the troubleshooting usually leads back to your Google Cloud account. Seeing that dreaded "For development purposes only" watermark is a dead giveaway that something's up with your billing.
I can't tell you how many times I've seen this happen: the main cause of API errors is forgetting to link a billing account to the Google Cloud project. You still get the generous free monthly credit, but Google insists on having a payment method on file just in case.
When an API issue strikes, run through this quick checklist:
- Check Your Billing Status: Is there a valid, active billing account properly linked to your project?
- Verify Enabled APIs: Did you actually flip the switch to enable the "Maps JavaScript API" inside your project's library? It's an easy step to miss.
- Confirm Key Restrictions: Double-check that your website's domain is listed correctly in the HTTP referrer restrictions for your API key. A tiny typo here, like
www.yoursite.comvs.yoursite.com, is a super common reason for a key to fail.
Fixing Broken or Greyed-Out Maps
What about when the map box shows up, but the map itself is just a blank, grey space with an error message? This almost always points to a problem with the API call itself. It could be an invalid key, a disabled API, or you might have simply hit your usage quota for the day.
Your best bet is to head straight back to the Google Cloud Console and look at the dashboard for your project. It’s your command centre, showing you any errors and your current usage stats, which will help you zero in on what’s gone wrong. Getting the setup right from the start prevents most of these issues, which really highlights the importance of understanding what are citations and how they tie into your digital footprint. Accurate, consistent location data is everything.
Your Top Google Maps Questions, Answered
Adding a map to your site is a great move, but it's natural to have a few questions before you dive in. I hear these all the time from business owners, so let's walk through the most common ones to clear things up.
Is It Really Free to Put a Google Map on My Website?
Yes, for the vast majority of businesses, it absolutely is. The simple copy-and-paste embed method—the one you'd use for a basic "Contact Us" page map—is completely free and has no usage limits. No strings attached.
Now, if you're looking for something more advanced using the Maps JavaScript API, there's a cost structure, but it’s incredibly generous. Google gives every account a recurring $200 USD monthly credit. Frankly, most small and medium-sized businesses will never even come close to using that up. You'd only see a bill if your site has an enormous amount of traffic hitting those advanced map features.
Will an Embedded Map Slow Down My Website?
It can add a tiny bit to your page load time, but the impact is usually so small that your visitors won't notice. The standard iframe embed is quite light and well-optimized.
If you're really focused on shaving every possible millisecond off your load time, the best practice is to "lazy load" the map. This is a simple trick that tells the browser not to load the map until a visitor actually scrolls down to it. Your page loads lightning-fast, and the map appears right when it's needed.
Lazy loading gives you the best of both worlds: a snappy initial page load and a fully functional map for anyone who wants to find you.
Can I Change How My Embedded Map Looks?
This really depends on which path you take.
If you stick with the simple iframe embed, your options are pretty limited. You can change the map's size and that's about it. It’s practical, but it won’t win any design awards.
For real creative control, you need to use the Google Maps JavaScript API. Once you have an API key, you can do some really neat things:
- Recolour the entire map to match your brand's specific hex codes.
- Swap out the generic red pin for a custom marker, like your company logo.
- Plot multiple locations with unique, clickable markers.
- Simplify the view by hiding things you don't need, like restaurants or transit lines.
It takes a little bit of code, but the result is a map that feels like a seamless, professional part of your website, not just a tacked-on widget.
How Does Having a Map on My Site Help with Local SEO?
Embedding a Google Map is a powerful signal to Google. It authoritatively confirms your business address, essentially telling the search engine, "Yes, we are a legitimate local business, and this is exactly where you can find us." This helps you show up more often in those crucial "near me" searches.
Beyond that, it boosts key user engagement signals that Google loves. When visitors can get directions or check your location without leaving your site, they stay on your page longer. That increased "dwell time" tells Google that your page is a valuable result, which can give your local search rankings a nice, steady lift.
Ready to turn your website's map into a powerful local SEO and conversion tool? The team at Juiced Digital specializes in crafting growth strategies for local businesses just like yours. Book a free consultation today to discover how we can help you dominate your local market.
